12 Volt DC Distribution
The compute, networking and storage components are all powered from a dedicated 12 volts dc distribution system. This distribution system can be electrically isolated from the rest of the house if needed, although it normally runs all the time. It is therefore important to minimize the overall power consumption. Our primary goal with the design of the electrical system was to avoid needing to run the inverter, and we achieved this.
The voltage of the house batteries is not a constant 12 volts, but rather can be anywhere in the range of around 11 volts to 14.5 volts. Not all the components of the computer infrastructure operate safely in this voltage range, so in some cases we added a power supply. The table below shows all of the components and their power and voltage needs, and where we added a power supply.
| Component | Power Consumption | Voltage Input |
|---|---|---|
| Cradlepoint Router | Idle: 4 W WiFi Tx/Rx: 9 W LTE Tx/Tx: 6.25 W | 9–33 VDC |
| Mintbox | 5 to 15 W | 7 to 20 VDC |
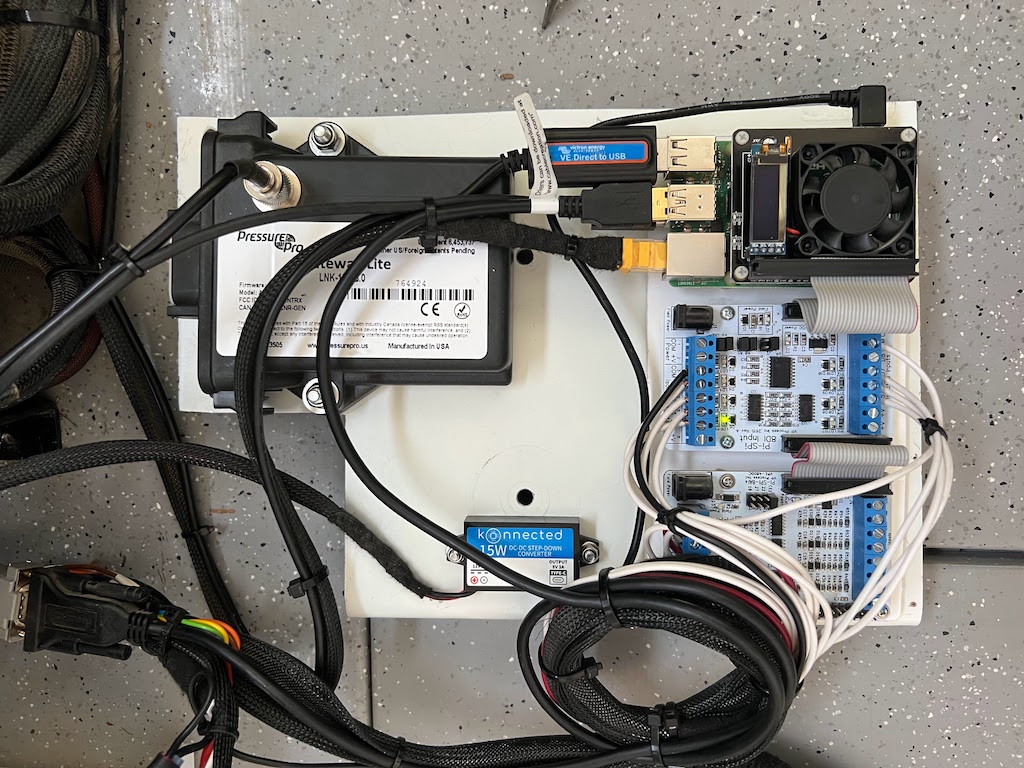
| Raspberry Pi | 15 W | 5 VDC |
| NAS | Access: 17 W Hibernation: 12 W | 12 VDC |
| Starlink | 50 to 75 W | 48 VDC |
| Raspberry Pi Power Supply | 95% Efficient | 12 VDC (See Note 1) |
| NAS Power Supply | 90% Efficient | 8 to 40 VDC |
| Starlink Power Supply | 95% Efficient | 10 to 30 VDC |
The 12 volt distribution system for the computer infrastructure uses a Bluesea ST Blade Fuse Block, with 6 fuse holders (Part Number 5025). To protect the Fuse Block, we used a Eaton Bussmann marine rated circuit breaker rated at 30 Amps (Part Number CB285P). A simplified version of the circuit is shown below. Isolator switches have been removed.
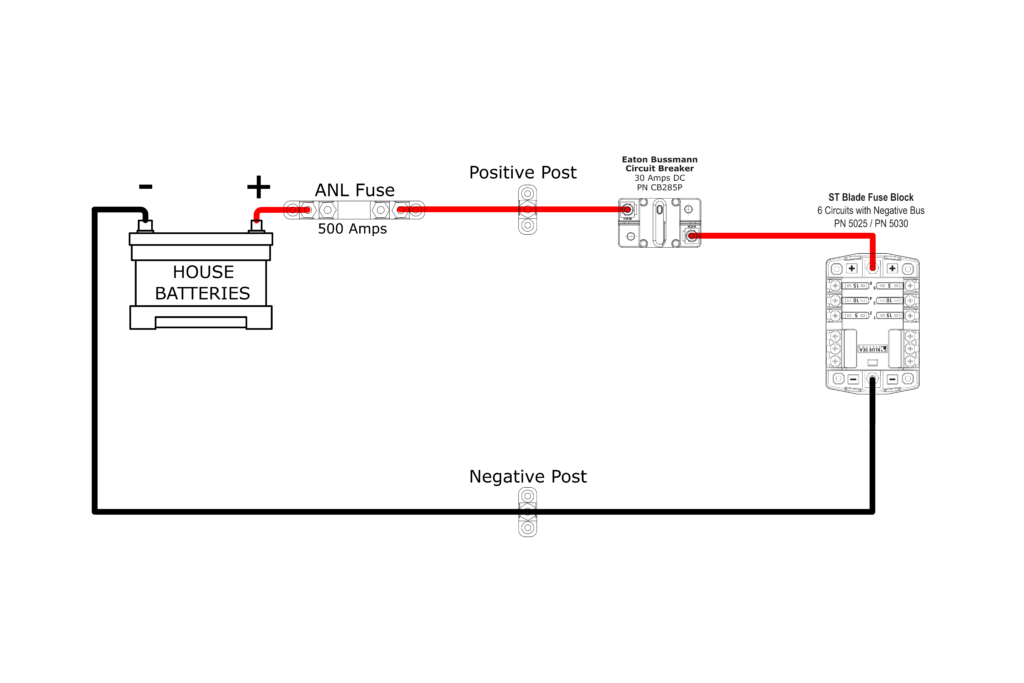
Click for larger image. We installed the Fuse Block upside down, as it was more convenient to wire up.
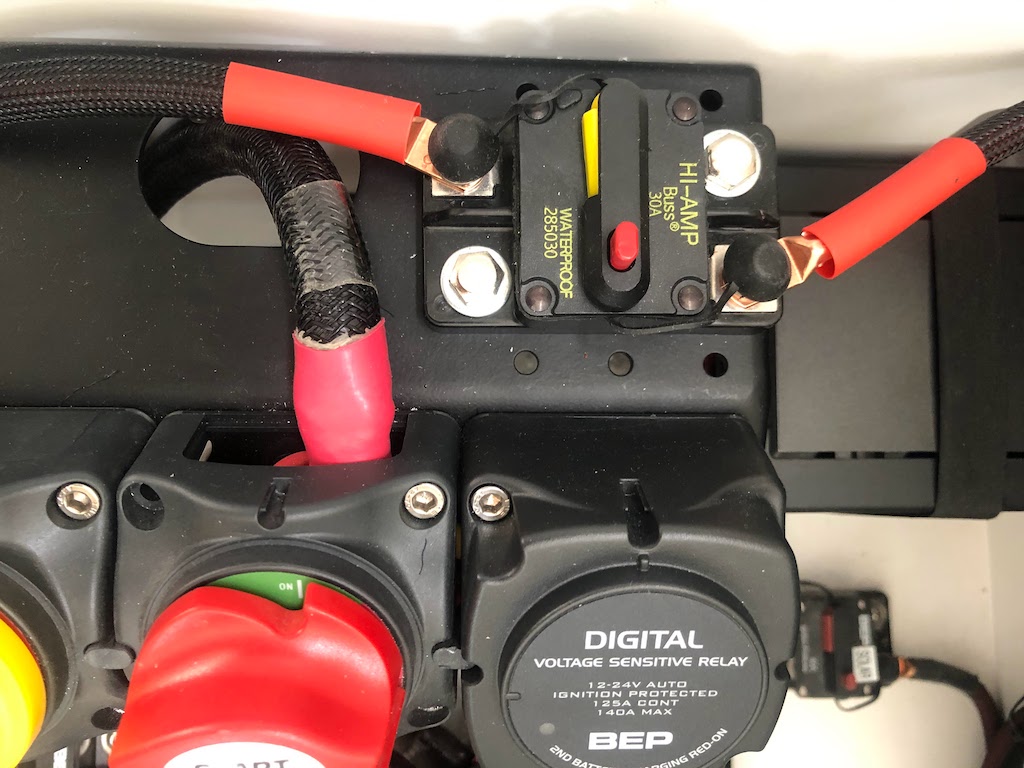
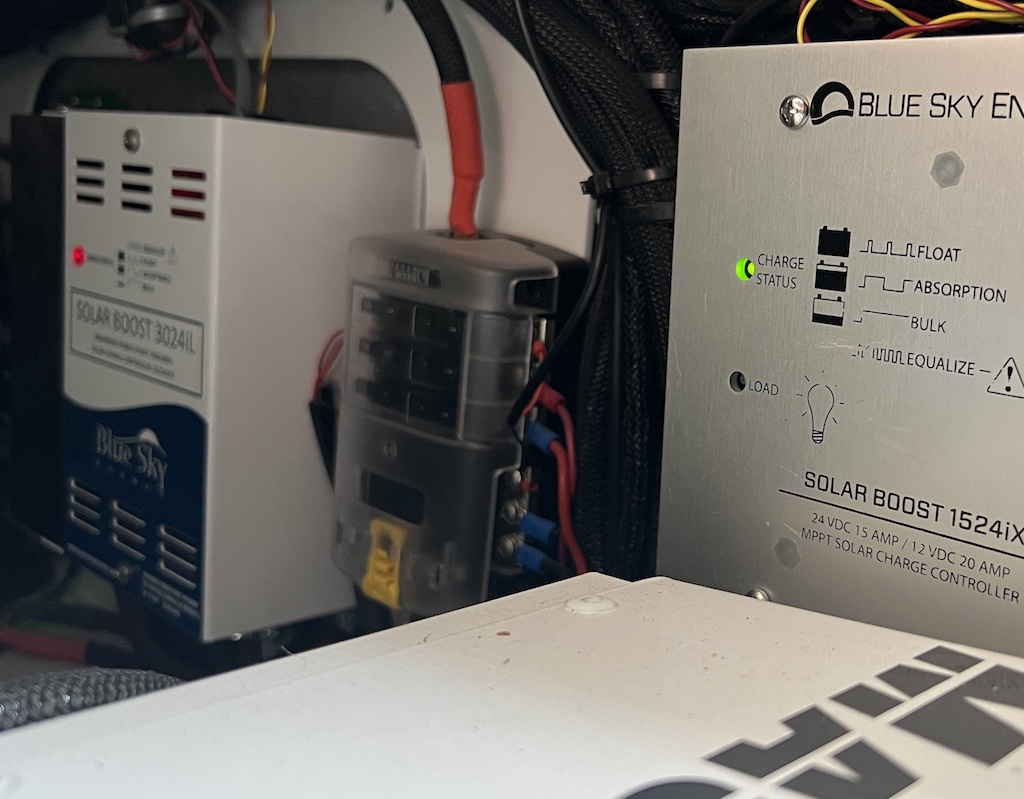
The distribution panel is bolted to a metal plate in the electrical cabinet. We then wired the power up the various bits of the computer infrastructure, along with a few extra associated sensors that needed power. And then added appropriate fuses.
| Circuit | Purpose | Fuse Rating |
|---|---|---|
| 1 | NAS 12VDC Power Regulator | 3 Amps |
| 2 | Raspberry Pi 5VDC Power Supply | 3 Amps |
| 3 | Mintbox | 3 Amps |
| 4 | Cradlepoint Router | 3 Amps |
| 5 | GPS Sensor | 1 Amp |
| 6 | TPMS | 3 Amps |
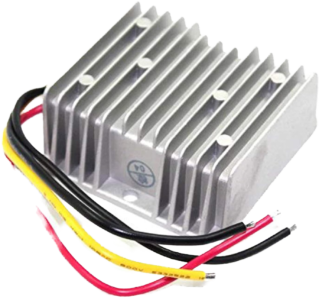
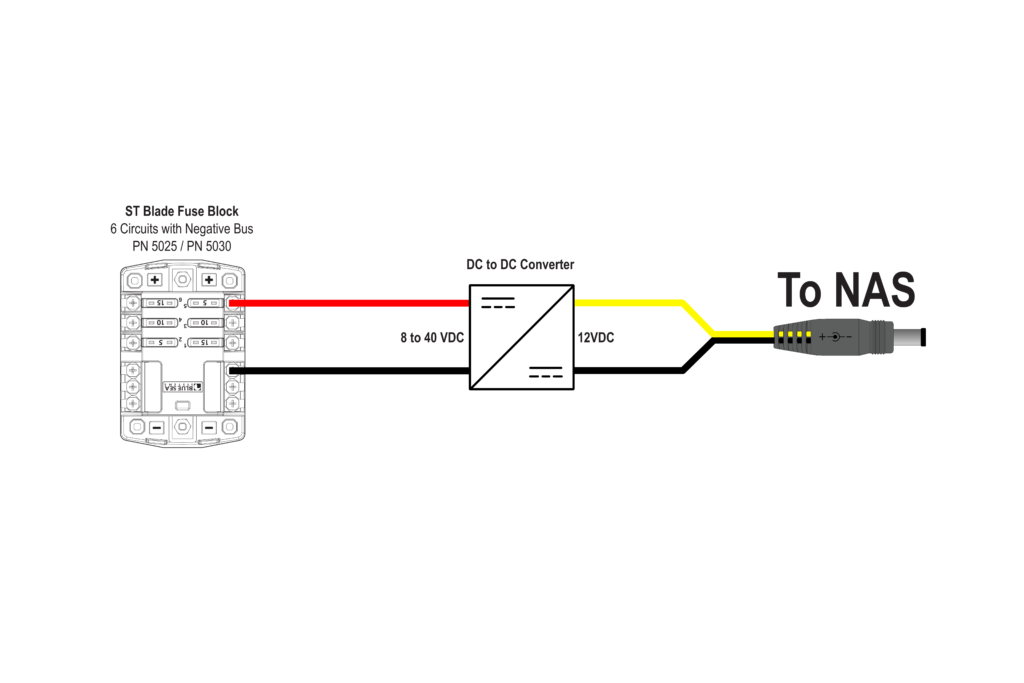
NAS Power Supply
The Synology DS619slim NAS comes with a separate power supply to convert 110/240 volts ac to 12 volts dc. This is good, as it means the NAS box itself works on 12 volts dc. But we were not been able to determine how tolerant the NAS is to changes to the input voltage. And we did not want to damage this expensive device with a voltage that was too high, or low. So, we added a cheap Chinese 12 volt dc regulator between it and the 12 volt distribution circuit. This way, we are confident that the NAS will always be getting a stable 12 volts.
The power supply claims to produce 12 volts dc with a tolerance of +/- 0.25 volts dc. It is also in an IP67 case making it waterproof.
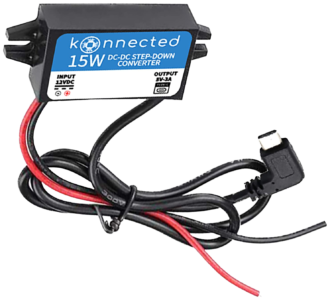
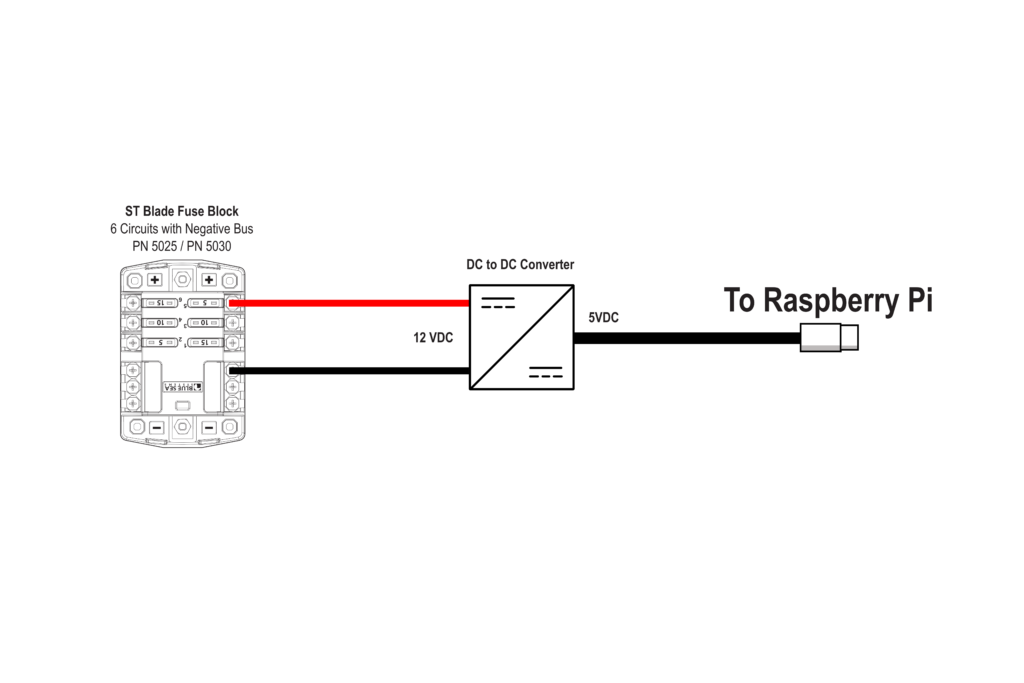
Raspberry Pi Power Supply
The Raspberry Pi is powered through the USB Type-C port with 5 volts dc. So we added a dedicated power supply for it.
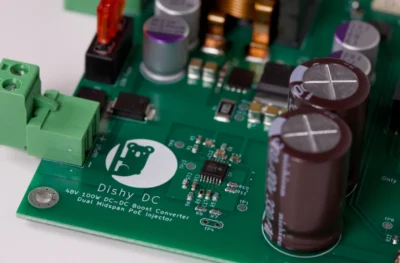
Starlink Power Supply
Not installed yet, but we will add a Dishy Dualie DC Power Supply. Currently the Starlink is powered from the Inverter, which is not good. Also, the Starlink will have it’s own circuit breaker on the main control panel. Only because Startlink gets turned on and off, and we can use a switch on the control panel to do this.