
This post is about the government documentation we needed and obtained to bring our car and ourselves into Thailand.
Thailand in General
Thailand does not accept the Carnet de Passage for temporary import of vehicles. The official Thailand Customs website has a very detailed explanation of the temporary importation process which involves quite a bit of paperwork. The website information is a little intimidating. However, the actual process we experienced at the land border was incredibly easy and completely different. Instead, you make a declaration of import and promise to export the vehicle, or face a fine. The promise is not backed by any bond. Maybe the more complicated process is required if the car is coming in via a sea border.
Before the Border
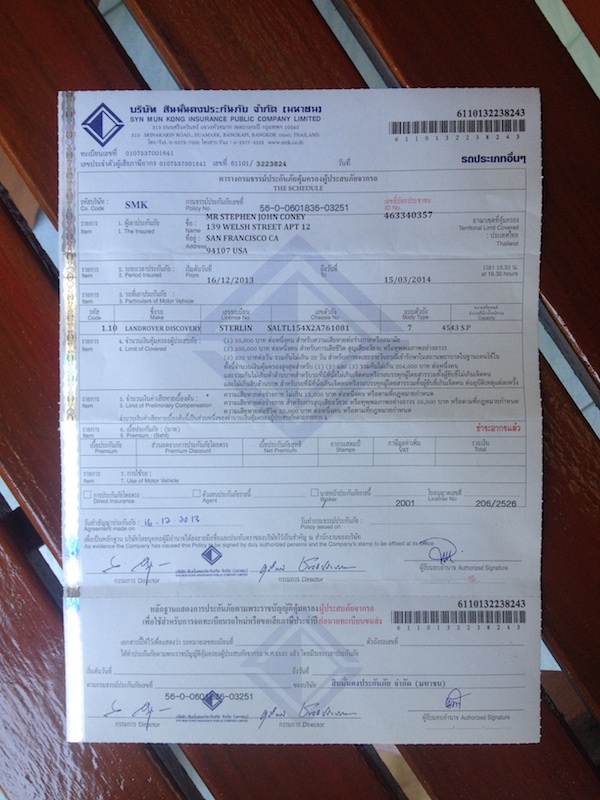
Thailand requires that we have third party car insurance with coverage for Thailand. The good news is that it is easy and cheap to buy this insurance. In fact we purchased the insurance while we were still in Malaysia at a little insurance broker located just before the border. Three months of insurance cost 70 Malaysian Ringgit or around $20 USD.
Border Crossing and Import Process
We crossed into Thailand at the Sadao Immigration Checkpoint which is located about 60km South of Hat Yai on Thailand’s National Highway 4. Apparently this is quite a busy crossing point as much of the traffic to and from Bangkok and Kuala Lumpur travels via this checkpoint.
There is a two-step process to cross the border in a private car. First, you park your car and process yourself and your passport with immigration. Then you process the car with Customs and drive through the checkpoint. The whole process took about 2 hours most of which is spent waiting in long and un-managed queues. And unfortunately the entire process is conducted outside in the heat so a considerable amount of sweat is involved
- Step 1: As we approached the border we were a little confused and almost tried to drive through the checkpoint. It did not take long for an immigration official to tell us to park our car in the carpark. The buses were off-loading people and these people were joining queues at the immigration desk, so we did the same. Once we finally got to the front of the queue, we discovered that we did not have an arrival card and we were told to come back with a completed arrival card. Finding blank arrival cards took about 10 minutes, it was a little complicated as the blank cards were in the Immigration Office on the other side of immigration. There are no real controls to prevent us from crossing past immigration without being stamped in, so we just walked through in search of the immigration office. Which we found quite quickly and were given blank arrival cards. Once we had filled these out, we re-joined the immigration queue. Immigration stamped us in for 60 days which is what we expected because we had previously obtained a visa.
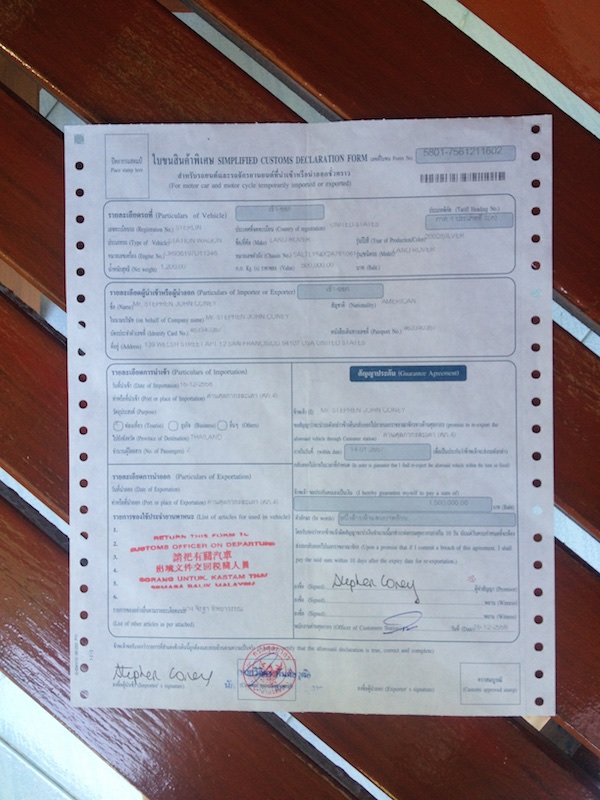
- Step 2: The counter to process our car was well marked and the queue was nice and short. We handed over our Carnet and it did not take long for the Customs officer to extract the key information from the Carnet to create our declaration form. There was the obvious confusion about the license plate not being comprised of numbers. I signed the form and left it at the checkpoint while we went back to get the car. Then we drove through the checkpoint picking up our declaration form as we passed. There was no vehicle inspection. We cranked up the air-conditioning and headed North.
After the Border
The border crossing was hot, busy and quite confusing. The next day I took a better look at the customs declaration and discovered that the Guarantee Agreement section of the Simplified Customs Declaration Form only allows import for 30 days. Looks like 30 days is the typical duration and can be extended if needed. But not sure how to do this. So, we will have to decide what to do about this (we worked out what to do, see post about Vehicle Extension)
December 24 : Update on Vehicle Extension
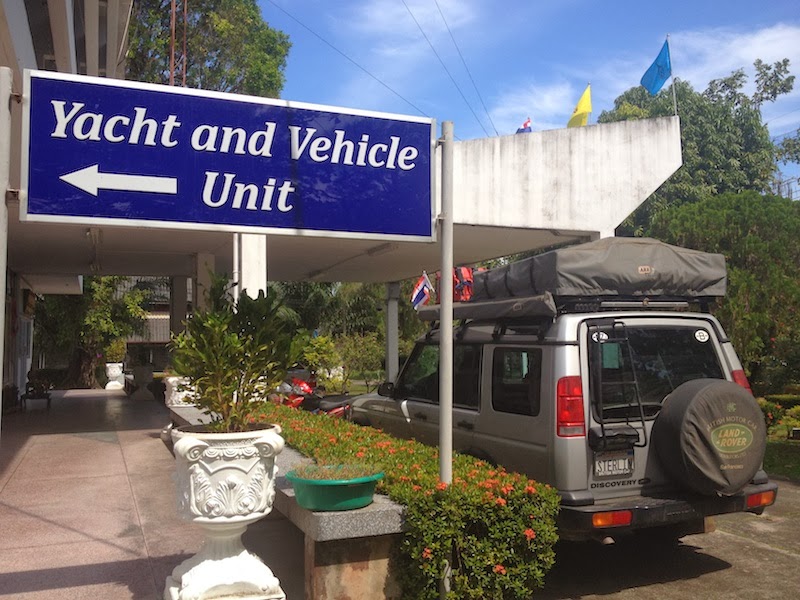
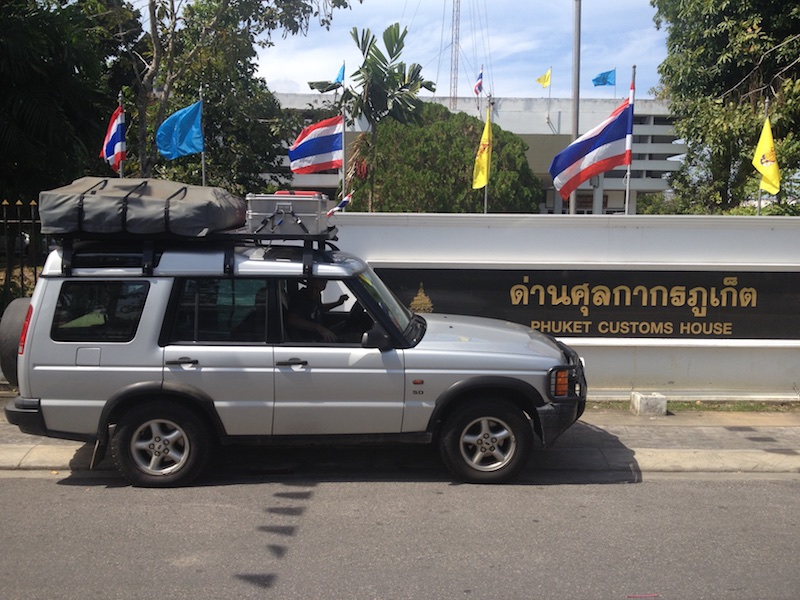
We popped into Phuket Customs House seeking an extension for our Car. We had found a form on the internet from the Phuket Customs House website which basically requests an extension for vehicles in Thailand. So we filled out this form and printed it out at our hotel before going to the office. The officer we spoke to was interested to know where we got the form from, and was somewhat assumed when we told them it was from the website of his office. Anyway, we lodged the form along with copies of our car insurance, car registration and my passport. A few days later we turned up and our extension had been processed. We asked for an extra month, but ended up getting 2 extra months. Dealing with Thailand customs is way too easy. Note, we heard from others, that there has been a change in the rules regarding extensions since January 1st, 2014 and now extensions cannot exceed the maximum permitted stay as indicated in the persons passport.

Leaving Thailand
We departed Thailand at the Aranyaprathet border crossing, which is probably the busiest crossing with Cambodia. The whole process took about 45 minutes.
- Step 1. At the first checkpoint we were directed to pull over just passed the first barrier and out of the way for others. Presumably the first barrier was Customs. The locals had special bar-codes on their vehicles or motorbikes and passed through after a quick scan. We however needed our paperwork checked. We handed in our Simplified Customs Declaration Form which was checked against the computer record. It was not long before we were waved through to the next checkpoint which was Police.
- Step 2. Again we were directed to pull over and out of the way of others while our paperwork was processed. Police took copies of car insurance, car registration, passport and the Simplified Customs Declaration Form. We had to go back to Customs to get a copy of the Simplified Customs Declaration Form. The police produced yet another form which I signed along with adding my signature on each of the copies they made. The police directed us to Immigration.
- Step 3. We went upstairs to the Immigration line to get ourselves out of the country. The line went quickly and soon enough we had an exit stamp in our passports.
- Step 4. Lastly we went back to the police checkpoint, showed them our stamps, and we were waved along.
The process was simple enough and did not involve any payments. There was no inspection of the vehicle. There were no scammers trying to help us for a small fee. All of the officials were friendly and helpful.